Keeping your software up to date is essential for optimal performance, security, and access to the latest features. In this step-by-step guide, you will learn exactly how to update your Autoconverter software installation on Windows. Whether you're using a 32-bit or 64-bit system, this tutorial walks you through downloading the latest installer, running the update safely, and staying informed through official community channels. Let's get your Autoconverter running with the newest improvements in no time!
How to Update Autoconverter Software Installation: Step-by-Step Guide
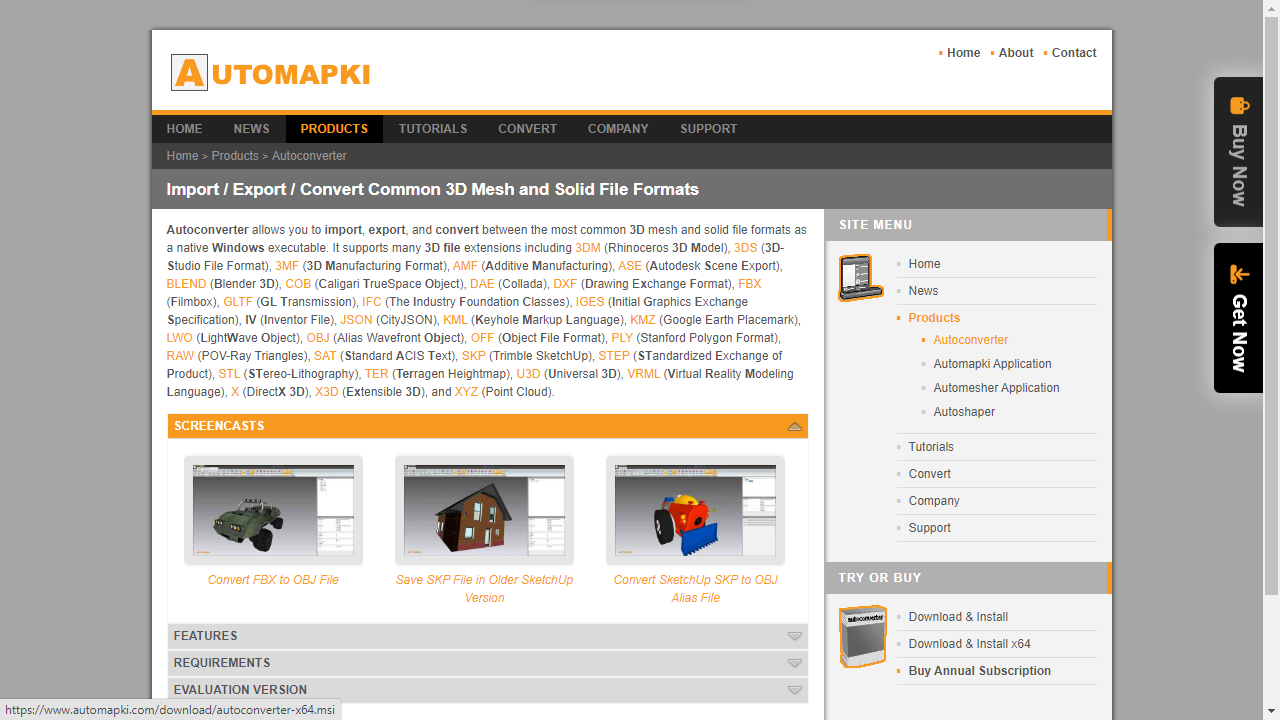
📥 Download the Latest Autoconverter Installer
Head over to the official Autoconverter product page and select the correct installer based on your version of Windows:
- For 32-bit systems: download the win32 installer.
- For 64-bit systems: download the x64 installer.
Ensure you choose the installer that matches your system architecture for best performance and compatibility.
⚙️ Run Autoconverter Installer
Locate the downloaded MSI (Microsoft Installer) file in your Downloads folder. Double-click the file to launch the installer and begin the update process.
🛡️ Accept User Permissions
Windows may prompt you to grant administrator access. Click Yes to allow the installer to make necessary changes on your device. This is essential for completing the software installation or update successfully.
📢 Stay Connected with Product Updates
Join our user community to receive news about future updates, new features, and user tips:
Staying connected helps you make the most of your Autoconverter experience.
Autoconverter Update: Final Thoughts
Updating your Autoconverter software is quick and easy when you follow these steps. Make sure to download the correct installer, accept required permissions, and stay engaged with our community. Keeping your software up to date ensures optimal performance, access to the latest features, and continued compatibility with your 3D file formats.